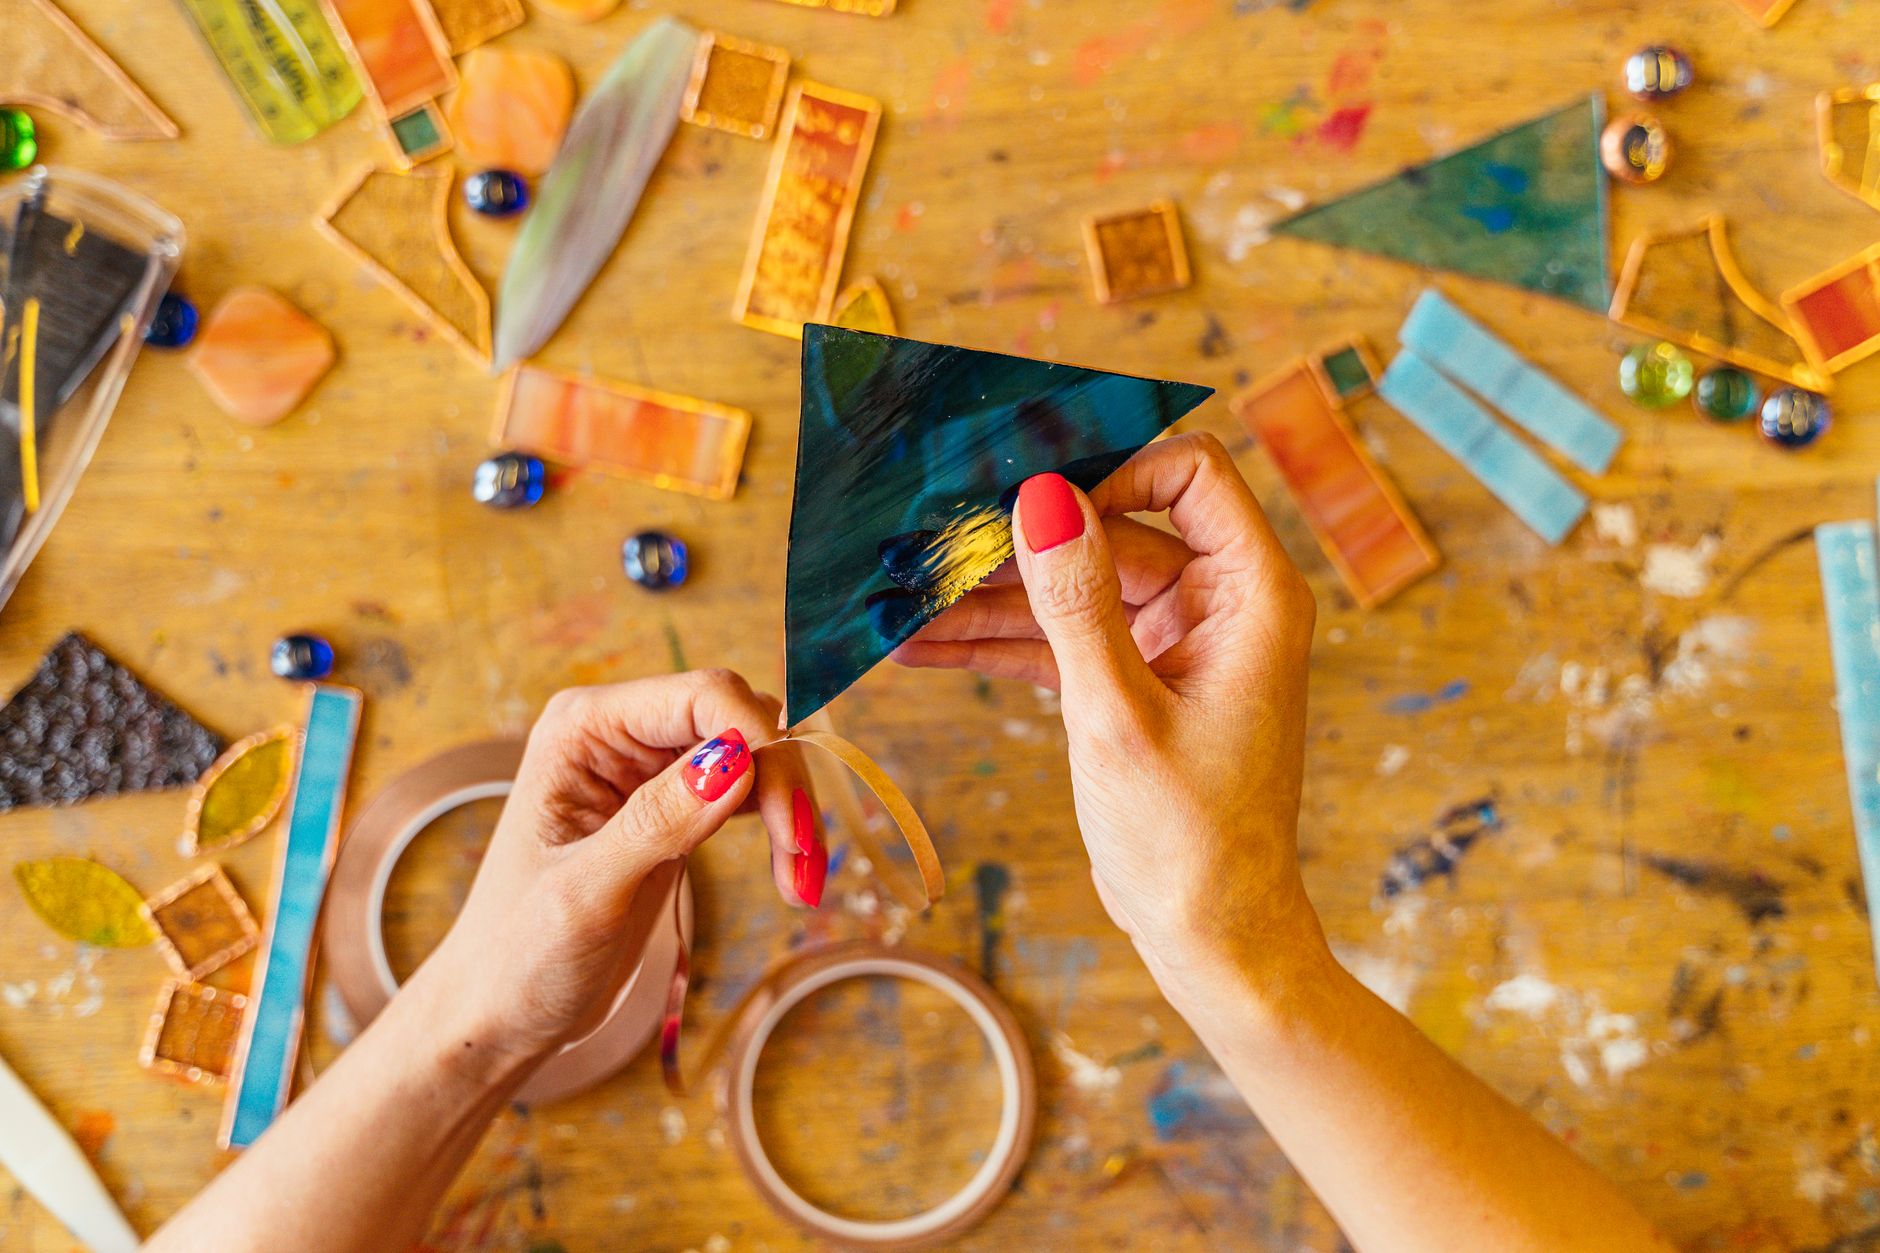
Mastering Craft Vinyl for Cricut Machines: Your Ultimate Guide
craft vinyl for cricut machines

Mastering Craft Vinyl for Cricut Machines: Your Ultimate Guide

Dive deep into the world of craft vinyl, transforming your Cricut projects from concept to stunning reality with ease.

Start Crafting Now

Key Takeaways

  • ✓ There are two main categories of craft vinyl: Adhesive Vinyl and Heat Transfer Vinyl (HTV).
  • ✓ Adhesive vinyl comes in permanent and removable varieties, suitable for different surfaces.
  • ✓ HTV requires heat to adhere and is primarily used for fabric projects.
  • ✓ Understanding blade settings and material pressure is crucial for successful vinyl cuts.
  • ✓ Proper weeding and transfer techniques are essential for clean, professional results.

How It Works

1
Design Your Project

Use Cricut Design Space to create or import your desired design. Ensure all elements are sized correctly and ready for cutting.

2
Select & Load Vinyl

Choose the appropriate type of craft vinyl for your project. Load it onto your Cricut cutting mat, ensuring it's smooth and secure.

3
Cut with Cricut

Follow Design Space prompts to select your material settings. Your Cricut machine will then precisely cut your design into the vinyl.

4
Weed & Transfer

Carefully remove excess vinyl (weeding) from your design using weeding tools. Apply transfer tape (for adhesive vinyl) or heat (for HTV) to apply your design to your chosen surface.

Understanding the Diverse World of Craft Vinyl for Cricut Machines
A close-up view of colorful grid patterned rolls of fabric at a market, showcasing texture and variety. Photo: Don Horror / Pexels
Embarking on your Cricut journey means entering a vibrant world of possibilities, and at the heart of many incredible projects lies craft vinyl. Understanding the different types of craft vinyl for Cricut machines is the foundational step to unlocking your creative potential. It's not just about picking a color; it's about choosing the right material for the right application, ensuring durability, aesthetics, and ease of use. Broadly, craft vinyl can be categorized into two main types: adhesive vinyl and heat transfer vinyl (HTV), each with its own sub-categories and specific uses. Adhesive vinyl, as its name suggests, comes with a sticky backing and is applied directly to a surface. This category further breaks down into permanent and removable options. Permanent adhesive vinyl is designed for long-lasting applications, perfect for outdoor signage, car decals, or items that will undergo frequent washing, like tumblers or mugs. Its strong adhesive ensures your design stays put, resisting weather and wear. On the other hand, removable adhesive vinyl is formulated for temporary applications or surfaces where you might want to change designs later, such as wall decals, stencils, or seasonal decorations. It peels away cleanly without leaving residue or damaging the surface, offering flexibility in your crafting. Within both permanent and removable adhesive vinyl, you'll find a dizzying array of finishes and textures: glossy, matte, holographic, glitter, metallic, shimmer, iridescent, and even specialty options like chalkboard or dry-erase vinyl. Each finish can dramatically alter the look and feel of your project, adding depth, sparkle, or a unique tactile experience. For instance, glitter vinyl can add a festive touch to party decor, while matte black can create sleek, sophisticated labels. Choosing the correct adhesive vinyl depends entirely on your project's intended use and the surface it will adhere to. A common mistake is using removable vinyl on an outdoor sign, leading to premature peeling, or permanent vinyl on a painted wall, risking damage upon removal. Always consider the longevity and permanence required for your finished piece. Beyond standard colors, explore patterned adhesive vinyl, which comes pre-printed with various designs, from florals to geometrics, saving you the step of creating complex patterns in Design Space. This can be a fantastic shortcut for intricate backgrounds or decorative elements. The world of adhesive vinyl is vast, offering endless combinations to bring your unique vision to life. Mastering the distinctions between permanent and removable, and experimenting with various finishes, will significantly elevate the quality and versatility of your Cricut creations. For more in-depth knowledge on choosing materials, you might find this article on essential craft supplies helpful. Always ensure your chosen vinyl is compatible with your Cricut machine and that you select the correct cutting settings in Design Space for optimal results.

Unleashing Creativity with Heat Transfer Vinyl (HTV) and Specialty Options
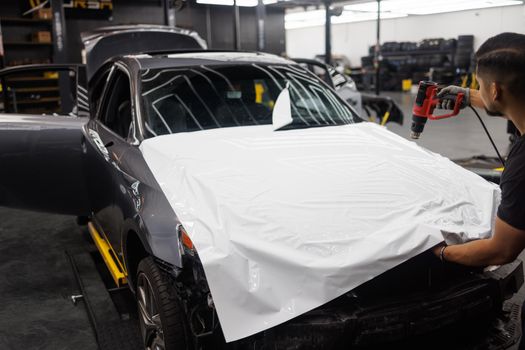
Car being wrapped with white vinyl in an auto workshop by a skilled mechanic. Photo: Auto Records / Pexels
While adhesive vinyl excels on hard, non-porous surfaces, Heat Transfer Vinyl (HTV), also known as iron-on vinyl, opens up an entirely new realm of possibilities, primarily on fabric. HTV is designed to be applied with heat, using either a heat press, an EasyPress, or a household iron, creating durable and washable designs on t-shirts, bags, hats, and other textile items. Unlike adhesive vinyl, HTV has a heat-activated adhesive on the back and a clear carrier sheet on the front. When cutting HTV, it’s crucial to mirror your design in Cricut Design Space because you cut into the back of the vinyl. This ensures your design reads correctly once applied. After cutting and weeding, the heat from your press activates the adhesive, bonding the vinyl to the fabric fibers. HTV also comes in a wide array of types, each with unique properties. Standard HTV is available in matte and glossy finishes and a rainbow of colors, perfect for basic text and simple designs. Beyond the basics, you'll encounter glitter HTV, which adds a dazzling sparkle, ideal for celebratory apparel or eye-catching accents. Metallic HTV offers a reflective, polished look, while holographic HTV creates a mesmerizing, color-shifting effect. Stretch HTV is a game-changer for athletic wear or any fabric with give, as it moves with the material without cracking or peeling. There are also specialty HTV options like flock, which provides a soft, fuzzy texture; glow-in-the-dark, for fun, luminous designs; and reflective, perfect for safety gear. The key to successful HTV application lies in understanding the correct temperature, pressure, and time settings for your specific vinyl type and fabric. Too little heat, and the vinyl won't adhere properly; too much, and it can melt or scorch. Always consult the manufacturer's instructions for your HTV. Beyond the two main categories, the world of craft vinyl for Cricut machines continues to expand with innovative specialty options. These include printable vinyl, which allows you to print full-color designs from your inkjet printer and then cut them with your Cricut, perfect for intricate graphics or photographic elements. Stencil vinyl is another valuable specialty, designed to create temporary stencils for painting on various surfaces. It has a less aggressive adhesive than removable vinyl, making it ideal for clean paint lines and easy removal. Window cling vinyl offers a non-adhesive solution for decorating glass, adhering through static electricity. It's reusable and repositionable, great for seasonal window decorations. Exploring these specialty vinyl types can elevate your projects, allowing you to venture beyond traditional applications and experiment with new textures and techniques. Each specialty vinyl requires specific cutting and application methods, so always take the time to read product descriptions and follow guidelines to achieve the best results. The versatility these materials offer means your Cricut machine can truly be a tool for almost any creative endeavor you can imagine, from personalized apparel to bespoke home decor and beyond. Understanding these materials will transform your crafting.

Essential Tools and Techniques for Flawless Craft Vinyl Application
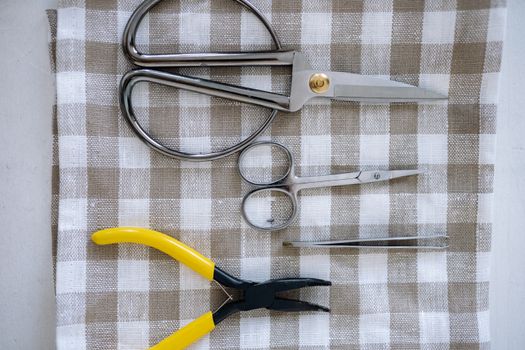
Flat lay of metal scissors and pliers on a checkered cloth for crafting or sewing. Photo: Yan Krukau / Pexels
Achieving professional-looking results with craft vinyl for Cricut machines goes beyond just choosing the right material; it also involves utilizing the correct tools and mastering essential application techniques. A well-equipped crafting toolkit can make all the difference in the ease and success of your projects. First and foremost, a good set of weeding tools is indispensable. Weeding involves removing the excess vinyl from around your cut design, leaving only the parts you want to transfer. A weeding hook or pick is perfect for intricate details, while a pair of fine-point tweezers can help with smaller pieces. Having both will allow you to tackle designs of varying complexity. Next, transfer tape (also known as transfer paper) is crucial for adhesive vinyl projects. This sticky film lifts your cut design off its backing and allows you to transfer it cleanly to your desired surface. Transfer tape comes in different tack levels – standard grip is versatile, while light grip is better for delicate vinyls like glitter or holographic. Always ensure your transfer tape is suitable for the vinyl you're using. For HTV projects, a reliable heat source is paramount. While a household iron can work for small, simple designs, a Cricut EasyPress or a dedicated heat press offers more consistent and even heat distribution, leading to better adhesion and durability. A heat-resistant mat is also essential to protect your work surface during HTV application. Other handy tools include a scraper or brayer for smoothing vinyl onto the mat and applying even pressure during transfer, a craft knife or scissors for trimming vinyl, and a measuring tape or ruler for precise placement. Surface preparation is a critical, yet often overlooked, step. For adhesive vinyl, ensure your surface is clean, dry, and free of dust, oils, or residues. Wiping with rubbing alcohol and letting it air dry is often recommended, especially for smooth, non-porous surfaces like glass or metal. For HTV, pre-pressing your fabric for a few seconds can remove moisture and wrinkles, creating a smooth canvas for your design. When it comes to cutting, always perform a test cut on a small, inconspicuous piece of your vinyl. This allows you to fine-tune your blade settings and pressure, ensuring a clean cut without cutting through the backing. Different vinyl brands and types can require slightly different settings, even if they fall under the same category. After cutting, proper weeding technique is key. Take your time, working slowly and steadily. If the vinyl lifts unexpectedly, gently press it back down. Once weeded, transferring the design requires patience. For adhesive vinyl, apply the transfer tape, burnish it well with your scraper, then slowly peel the backing away. Position your design, burnish again, and then slowly peel the transfer tape at a sharp angle. For HTV, place the weeded design (carrier sheet up) onto your fabric, apply heat and pressure according to manufacturer instructions, then peel the carrier sheet (either warm or cool peel, depending on the vinyl). Mastering these tools and techniques will not only improve the quality of your finished projects but also enhance your overall crafting experience, turning potential frustrations into satisfying successes. Investing in quality tools and practicing these methods will pay dividends in your Cricut journey, allowing you to create stunning pieces with confidence. For further inspiration, explore different Cricut project ideas to put your new vinyl skills to the test.

Troubleshooting Common Craft Vinyl Issues & Pro Tips for Success
Close-up of a technician soldering a circuit board in a workshop, focusing on precise electronics work. Photo: Bulat843 🌙 / Pexels
Even experienced crafters encounter challenges with craft vinyl for Cricut machines. Knowing how to troubleshoot common issues and employing pro tips can save time, material, and frustration. One frequent problem is the vinyl not cutting all the way through, or conversely, cutting through the backing. This is almost always a blade setting or pressure issue. **Troubleshooting & Solutions:** * **Vinyl not cutting through:** Your blade might be dull, or the pressure/setting is too low. Try increasing the pressure slightly in Design Space or selecting a 'More' pressure option. If the blade is old, replace it. Ensure your mat has good adhesion. * **Cutting through the backing:** Your pressure/setting is too high. Decrease the pressure or choose a 'Less' option in Design Space. Sometimes, a well-used mat can make vinyl stick too much, requiring less pressure. * **Difficulty weeding:** This often happens with intricate designs or when the vinyl isn't cut cleanly. Ensure your blade is sharp and your cut settings are correct. Using a brighter light underneath your design can help illuminate cut lines. Weeding while the vinyl is still on the mat can provide stability. * **Bubbles during application (adhesive vinyl):** Apply vinyl slowly, starting from one edge and smoothing it down with a scraper as you go. For larger decals, cut the backing paper in half and apply one side at a time. If bubbles appear after application, you can often pop them with a fine needle and smooth them out. * **HTV not adhering or peeling:** This is typically a heat, pressure, or time issue. Ensure your heat source is at the correct temperature (use an infrared thermometer to verify if unsure), apply firm, even pressure, and hold for the recommended time. Also, check if it's a 'hot peel' or 'cool peel' HTV. **Pro Tips for Optimal Results:** * **Test Cuts are Your Best Friend:** Always do a small test cut on a scrap piece of your vinyl, especially with a new brand or type. This allows you to dial in the perfect settings without wasting a large sheet. * **Clean Your Mat:** A clean mat ensures proper adhesion. Use a lint roller or warm, soapy water to gently clean your cutting mat. Let it air dry completely. * **Mirror HTV Designs:** It's a common oversight! Always remember to mirror your design in Design Space when working with Heat Transfer Vinyl. * **Layering Vinyl:** When layering adhesive vinyl, apply the bottom layer first, then carefully align and apply subsequent layers. For HTV, press each layer for a shorter time (e.g., 5-10 seconds) to avoid over-pressing the bottom layer, then do a final full press for all layers. * **Store Vinyl Properly:** Store vinyl rolls upright or flat to prevent curling and damage. Keep it away from direct sunlight and extreme temperatures. Use rubber bands or clips to keep rolls tidy. * **Patience with Weeding:** Don't rush the weeding process, especially for intricate designs. A steady hand and good lighting are key. If you struggle, consider using a light pad. * **Burnish Thoroughly:** Whether using transfer tape or applying HTV, ensure you apply firm, even pressure (burnish) to help the adhesive bond. This is crucial for clean transfers and long-lasting results. * **Read Manufacturer Instructions:** Different vinyl brands and types have specific recommendations for cutting settings, application temperatures, and peeling instructions. Always refer to these first. These tips and troubleshooting strategies will empower you to tackle almost any vinyl project with confidence, ensuring beautiful, durable creations every time. Practice makes perfect, so don't be afraid to experiment and learn from each project.

Comparison

FeaturePermanent Adhesive VinylRemovable Adhesive VinylStandard HTVGlitter HTV
Application SurfaceHard, smooth (mugs, cars, outdoor signs)Hard, smooth (walls, temporary decor)Fabric (t-shirts, bags, hats)Fabric (t-shirts, bags, hats)
LongevityLong-term, weather-resistantTemporary, clean removalDurable, washableDurable, washable (may shed slightly)
Application MethodTransfer tape, pressureTransfer tape, pressureHeat press/ironHeat press/iron
Mirror Design in Cricut
Residue upon Removal✓ (difficult, may damage surface)✗ (clean)✗ (permanent fabric bond)✗ (permanent fabric bond)
Best for Outdoor UseN/AN/A

What Readers Say

"Using permanent craft vinyl for Cricut machines transformed my small business. My custom tumblers now have vibrant, durable designs that withstand daily use and washing, truly elevating my product quality. It's a game-changer for professional-looking crafts."

Sarah J. · Austin, TX

"I was hesitant about HTV, but after following this guide, my first custom t-shirt came out perfectly. The stretch vinyl adhered beautifully to a workout shirt, and it's holding up great after several washes. So much fun to personalize clothes!"

Michael D. · Orlando, FL

"This article's tips on weeding intricate designs saved my latest project. I was struggling with tiny details, but using a brighter light and a fine-point tweezer made all the difference. My wedding invitations look incredibly professional now, thanks to the holographic vinyl."

Emily R. · Seattle, WA

"While the variety of craft vinyl for Cricut machines is amazing, I sometimes find it hard to get consistent cuts across different brands. This guide's advice on test cuts is spot on; it's a must-do to avoid wasting material. Still, overall, it's an incredibly versatile medium."

David L. · Chicago, IL

"I used removable vinyl to create seasonal wall decals for my kids' rooms, and they absolutely love them! It was easy to apply and peel off without any damage, allowing us to change themes effortlessly. The ability to switch designs so easily is fantastic for home decor."

Jessica M. · Denver, CO

Frequently Asked Questions

What is the best type of craft vinyl for Cricut machines for beginners?

For beginners, removable adhesive vinyl is often recommended. It's forgiving, allowing for repositioning and easy removal if you make a mistake, and it's less sensitive to heat variables than HTV. Start with simple designs on flat, smooth surfaces to build confidence before moving to more complex projects or HTV.

Why is my craft vinyl not sticking to the transfer tape?

This is a common concern. It usually means you haven't burnished (rubbed firmly) enough over the design with your scraper tool after applying the transfer tape. Ensure you apply firm, even pressure across the entire design. Sometimes, the transfer tape itself might be too low tack for the vinyl, or the vinyl's backing paper is too smooth. Try a stronger grip transfer tape or really press hard.

How do I know the correct Cricut settings for different craft vinyls?

The best way is to always consult the manufacturer's recommendations for your specific vinyl. However, Cricut Design Space offers a wide range of pre-set material settings. Start with the suggested setting for your vinyl type (e.g., 'Premium Vinyl - Permanent') and always perform a small test cut to fine-tune pressure before cutting your full design. Adjust pressure slightly up or down if needed.

Is craft vinyl for Cricut machines expensive?

The cost of craft vinyl varies widely depending on the type, brand, finish, and size. Basic permanent or removable vinyl can be quite affordable, especially in bulk rolls. Specialty vinyls like holographic, glitter, or printable vinyl will be more expensive per sheet or roll. While initial investment might seem high, the ability to create custom, personalized items often provides great value.

What's the difference between iron-on vinyl and HTV for Cricut?

There is no difference; 'iron-on vinyl' and 'HTV' (Heat Transfer Vinyl) are interchangeable terms. Both refer to the same type of craft vinyl that requires heat to adhere to fabric and other heat-safe surfaces. Cricut often uses the term 'iron-on' in their branding, while 'HTV' is a more general industry term.

Who should use craft vinyl for Cricut machines?

Anyone looking to personalize items, create custom decor, or start a small crafting business should consider using craft vinyl with their Cricut. It's ideal for hobbyists, DIY enthusiasts, small business owners, teachers, and parents who want to add a unique, handmade touch to gifts, apparel, home goods, and more.

Is craft vinyl safe to use on food contact surfaces?

Generally, craft vinyl is not food-safe for direct contact with edibles. While it's common to apply permanent vinyl to the outside of mugs, tumblers, or plates, it should never be applied to the inside where food or drink would directly touch it. Always ensure vinyl is on the exterior of food-related items and hand wash to preserve the design and prevent potential issues.

What are the emerging trends in craft vinyl for Cricut projects?

Emerging trends include holographic and iridescent vinyls for a futuristic, shimmery look, textured vinyls like puff HTV for a 3D effect, and increasingly complex patterned vinyls. There's also a growing interest in eco-friendly and more durable vinyl options, as well as smart vinyls that offer quicker, mat-less cutting for Cricut Joy and Explore 3/Maker 3 machines.

Ready to transform your crafting? With the right craft vinyl for Cricut machines and these expert tips, your creative possibilities are truly limitless. Start exploring the vast world of vinyl today and bring your most imaginative projects to life with confidence and precision.

Topics: craft vinyl for cricut machinescricut vinyl typesheat transfer vinylpermanent vinyl cricutremovable vinyl projects
Leo List

DK Escorts LU Escorts AT Escorts SE Escorts FI Escorts CH Escorts DE Escorts HR Escorts IE Escorts GR Escorts CZ Escorts NO Escorts BE Escorts FR Escorts SI Escorts IL Escorts NL Escorts PL Escorts HU Escorts ES Escorts IT Escorts PT Escorts SK Escorts RO Escorts ZA Escorts UY Escorts US Escorts UK Escorts NZ Escorts AU Escorts
Brampton weed
Adultwork EstrelaBet Vai de Bet R7 Bet Betão Galera Bet Rainbet Bet9ja Shop SportyBet BetKing Sisal Loto Foot Hollywoodbets YesPlay Odibets RushBet Jugabet BetWarrior BetCity MSport betPawa Fortebet