Smart Craft Storage Ideas Small Spaces: Maximize Your Creativity
Unlock the full potential of your crafting passion with ingenious storage solutions designed for even the tiniest areas.
Get Organized NowKey Takeaways
- ✓ Vertical space is your best friend in small craft areas.
- ✓ Multi-functional furniture can double your storage capacity.
- ✓ Clear containers help visualize and access supplies quickly.
- ✓ Regular decluttering prevents overwhelm and maintains organization.
How It Works
Take inventory of all your craft supplies. Group similar items together to understand the volume and types of materials you need to store efficiently.
Even in a small space, designate a specific area for your crafting. This helps to contain the mess and makes it easier to implement targeted storage solutions.
Look up! Walls, doors, and the space above furniture are prime real estate for shelving, pegboards, and hanging organizers, maximizing your storage footprint.
Invest in modular units, clear bins, rolling carts, and other clever organizers that can adapt to your evolving craft needs and fit snugly into tight spots.
Mastering Vertical Space: The Secret Weapon for Small Craft Rooms
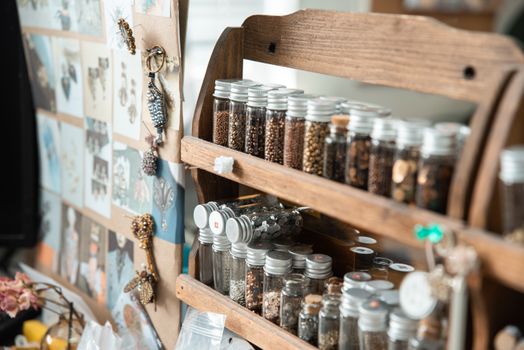 Photo: Yuliya Duzhaya / Pexels
Beyond traditional shelving, pegboards are a crafter's dream for vertical organization. A pegboard wall can transform a blank surface into a highly customizable storage system. With a variety of hooks, baskets, and small shelves designed to attach to pegboards, you can hang scissors, rulers, spools of thread, and even small tools. The beauty of a pegboard is its adaptability; you can rearrange your setup as your crafting projects and needs evolve. Similarly, door-mounted organizers, often overlooked, offer significant storage real estate. Over-the-door shoe organizers with clear pockets are perfect for storing small items like glitter, buttons, or embellishments. Over-the-door racks with hooks can hold rolls of vinyl, ribbon, or even lightweight fabric pieces. Utilizing the back of a closet door or even the main entry door to your craft space can free up valuable shelf and drawer space elsewhere. Don't forget the space above your desk or workbench. Installing a narrow shelf or even a magnetic strip can keep frequently used tools within arm's reach without cluttering your work surface. For heavier items or bulkier supplies, consider sturdy wall-mounted bins or baskets. These can hold yarn skeins, fabric scraps, or larger craft tools, keeping them off the floor and neatly contained. The key to successful vertical storage is to assess what you have, how often you use it, and how accessible it needs to be, then match it with the right vertical solution. By thinking upwards, you'll discover a wealth of untapped storage potential in your small craft area, making every inch count and keeping your creative flow uninterrupted. For more ideas on efficient crafting, explore our guide on organizing craft supplies.
Multi-Functional Furniture and Clever Containers: Maximizing Every Inch
 Photo: Alexey Demidov / Pexels
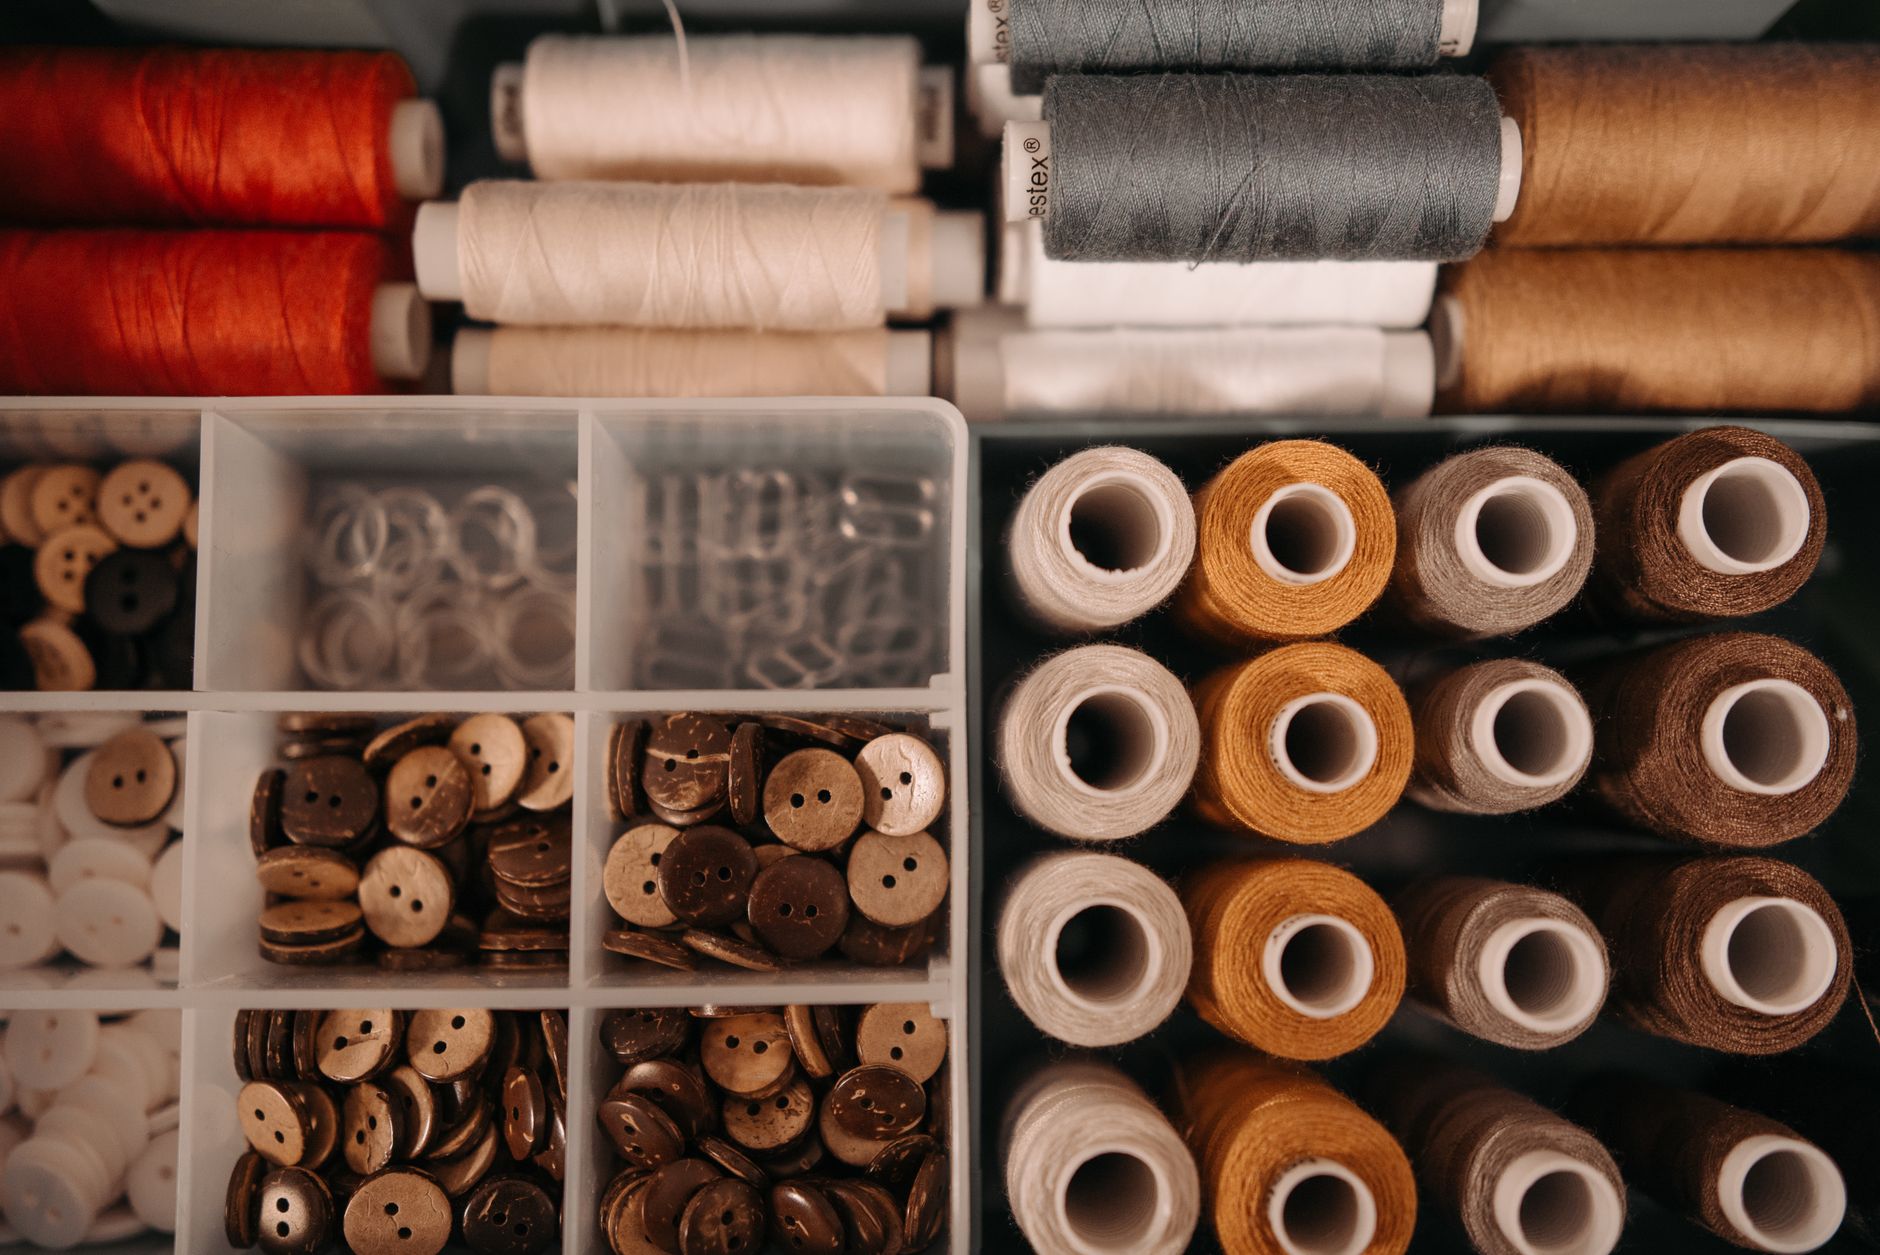
The right containers are just as crucial as the furniture they sit in or on. Clear containers are invaluable because they allow you to see what's inside at a glance, eliminating the need to rummage through opaque boxes. This saves time and prevents you from buying duplicates of items you already own. Look for stackable clear bins, drawers, and jars in various sizes. Labeling these containers, even if they're clear, adds an extra layer of organization, especially for smaller or similar-looking items. Drawer organizers, whether for shallow desk drawers or deeper cabinet drawers, help to compartmentalize and prevent items from becoming a jumbled mess. These can be adapted for everything from beads and buttons to small tools and spools of thread. Magnetic strips, often used for kitchen knives, can be repurposed in a craft space to hold metal tools like scissors, tweezers, or even small metal dies, keeping them visible and off your work surface. Repurposing everyday items can also lead to creative storage solutions. Mason jars are excellent for buttons, beads, or paintbrushes. Old spice racks can hold glitter shakers or small bottles of ink. Shoe boxes, when covered and labeled, can become attractive storage for paper, fabric, or even small project kits. Think outside the box – or inside it, in many cases! The goal is to create a system where every item has a designated home, making cleanup and project setup efficient and enjoyable. By thoughtfully selecting multi-functional furniture and smart containers, you'll transform even the most cramped craft corner into a highly efficient and inspiring creative hub.
Optimizing Every Nook and Cranny: Hidden Gems of Craft Storage
 Photo: Pavel Danilyuk / Pexels
The backs of doors, as mentioned for over-the-door organizers, can also be fitted with shallow shelves or even a custom-built, thin cabinet for slim items like stencils, vinyl rolls, or paper pads. Don't forget about closet interiors. If you have a closet nearby, even a small one, it can become a dedicated craft closet. Install custom shelving, tension rods for hanging ribbon or fabric, and use the back of the closet door for additional storage. Clear, hanging garment bags can protect delicate fabrics or keep project kits together. Even the smallest gaps between furniture pieces can be exploited. Slim rolling carts, sometimes called 'pantry carts,' can slide into narrow spaces next to a desk or between a wall and a cabinet, providing surprisingly useful storage for pens, markers, glues, or small tools. These are fantastic for keeping frequently used items close at hand but out of sight when not in use. Corner spaces, often awkward and difficult to furnish, can be transformed with corner shelving units or custom-built corner cabinets. These maximize an otherwise wasted area and can hold a substantial amount of supplies. For those with a dedicated craft table, consider installing shallow drawers directly underneath the tabletop. These can be custom-made or purchased as add-on units, providing immediate access to frequently used tools like pens, rulers, or small cutting mats without cluttering the main work surface. Even the space above windows or door frames can accommodate a narrow shelf for displaying inspiring craft books or storing less frequently used, lightweight items. The key is to look at your space with a fresh perspective, identifying any unused volume and envisioning how it can be repurposed for storage. By embracing these hidden gems, you'll find that even the smallest craft area holds more potential than you ever imagined, leading to a more organized and enjoyable crafting experience. For more organizational insights, check out our article on craft room organization.
Smart Habits and Common Mistakes in Small Space Craft Organization
Photo: Alexey Demidov / Pexels
However, even with the best intentions, crafters often make common mistakes when organizing small spaces. Here are some pitfalls to avoid:
- Over-buying Storage Solutions: Don't buy storage containers before you know exactly what you need to store. This often leads to mismatched, unused containers that themselves become clutter. First, declutter and categorize, then measure and purchase storage solutions tailored to your specific needs.
- Ignoring Labeling: Even with clear containers, forgetting to label can lead to confusion and wasted time. Labels, especially for opaque bins or drawers, are essential for quick identification and efficient retrieval of supplies.
- Creating a 'Junk Drawer': While tempting, having a catch-all drawer or bin quickly negates any organizational efforts. Every item, no matter how small, should have a specific home.
- Not Utilizing Wall Space: As discussed, neglecting vertical space is a major missed opportunity in small craft areas. Walls are prime real estate for shelves, pegboards, and hanging organizers.
- Failing to Group Similar Items: Storing like with like (all paints together, all beads together, etc.) makes it infinitely easier to find what you need and prevents items from getting lost or forgotten.
- Overlooking Under-Furniture Space: The areas under desks, beds, or tables are often forgotten but can provide significant hidden storage for bulkier items or less frequently used supplies.
- Prioritizing Aesthetics Over Functionality: While a beautiful craft space is inspiring, in a small area, functionality must come first. Choose solutions that truly work for your crafting habits, even if they aren't always Pinterest-perfect.
Comparison
| Feature | Rolling Cart System | Wall-Mounted Pegboard | Under-Desk Drawers | Modular Cube Storage |
|---|---|---|---|---|
| Mobility | High | Low | Low | Medium |
| Visibility | Medium (open shelves) | High (hooks) | Low (closed drawers) | Medium (open cubes) |
| Customization | Medium | High | Low | High |
| Footprint | Small | Very Small | Very Small | Medium |
| Cost | Medium | Low | Medium | Medium |
| Ideal for | Active projects, tools | Small tools, spools | Flat items, documents | Fabric, yarn, bins |
What Readers Say
"These craft storage ideas for small spaces completely transformed my tiny apartment corner. The vertical shelving suggestions helped me reclaim so much floor space, and now everything is within reach!"
Sarah J. · Austin, TX"I used to dread crafting because of the mess, but the multi-functional furniture tips in this article were a revelation. My craft desk now doubles as a side table, and my supplies are neatly tucked away."
Mark D. · Portland, OR"Following these steps, I managed to organize all my scrapbooking supplies into a single closet. The clear containers and labeling advice made it so easy to find anything, cutting my project prep time in half."
Emily R. · Denver, CO"The article offered many great suggestions, especially the emphasis on decluttering first. While some ideas required a bit of DIY, the core principles of maximizing vertical and hidden spaces were incredibly helpful for my small studio."
David L. · Boston, MA"As a jewelry maker with hundreds of tiny beads, I was drowning in clutter. The specific tips for drawer organizers and magnetic strips for tools were perfect. My workspace is now efficient and inspiring."
Jessica T. · San Diego, CAFrequently Asked Questions
What is the most effective way to store fabric in a small craft space?
For fabric, consider rolling larger pieces and storing them vertically in cubbies or magazine files. Smaller scraps can be folded and stored in clear, labeled bins or hanging garment bags. Tension rods in a closet can also be used to hang fabric by the bolt.
Will these small space craft storage ideas be expensive to implement?
Not necessarily. Many effective solutions involve repurposing items, DIY projects, or affordable modular units. Focus on smart planning and decluttering first; you might find you need less new storage than you think. Investment in quality, lasting solutions can save money in the long run.
How can I organize small craft tools like scissors, rulers, and glues?
Utilize pegboards with hooks and small baskets for easy access. Magnetic strips are excellent for metal tools. For glues and pens, consider clear desktop organizers, rolling carts with small compartments, or drawer dividers to keep them upright and separated.
What's the best way to store works-in-progress in a small area?
Designate specific project bins or pouches for each work-in-progress. A rolling cart can also serve as a mobile WIP station, allowing you to move it out of the way when not actively crafting. Under-bed storage or an ottoman with storage are also great for tucking away ongoing projects.
How can I prevent my small craft space from looking cluttered, even if organized?
The key is visual calm. Use consistent colors for your storage solutions, opt for clear containers where possible, and minimize open shelving clutter. Closed storage like cabinets or bins helps hide visual noise. Regular decluttering is also essential to prevent overstuffing.
Who benefits most from implementing these craft storage ideas for small spaces?
Anyone with a passion for crafting who struggles with limited space will benefit immensely. This includes apartment dwellers, students, those with shared living spaces, or anyone who simply wants a more organized and efficient creative environment, regardless of room size.
Are there any safety concerns with maximizing vertical storage for crafts?
When utilizing vertical storage, ensure shelves and cabinets are securely mounted to wall studs to prevent tipping, especially if storing heavy items. Keep frequently used heavy items at easily accessible heights. Avoid stacking too many unstable items on top of each other, particularly in earthquake-prone areas.
What new trends are emerging in small craft space organization?
The trend is towards highly modular, customizable, and aesthetically pleasing solutions that blend seamlessly into home decor. Think integrated smart lighting within storage units, sustainable materials, and systems that can adapt from craft storage to general home organization with ease.
Don't let a small space limit your creative potential. By implementing these smart craft storage ideas for small spaces, you can transform your cluttered corner into an inspiring, efficient, and beautiful haven for all your crafting endeavors. Start organizing today and unlock a world of creative possibilities!